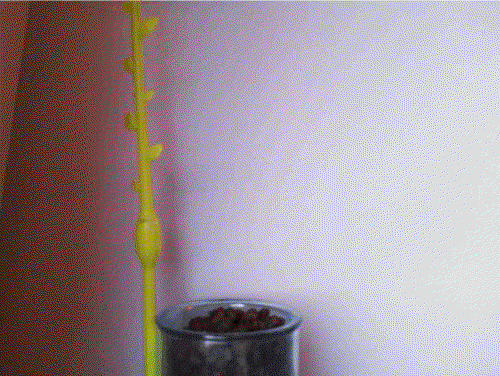
Nature is amazing, but let’s be honest: watching a bean grow in real-time is about as exciting as watching paint dry. That’s why I decided to turn this slow-motion process into a digital thriller. I’m building a simple plant-growing-timelapse device that captures every tiny movement of a sprouting bean.
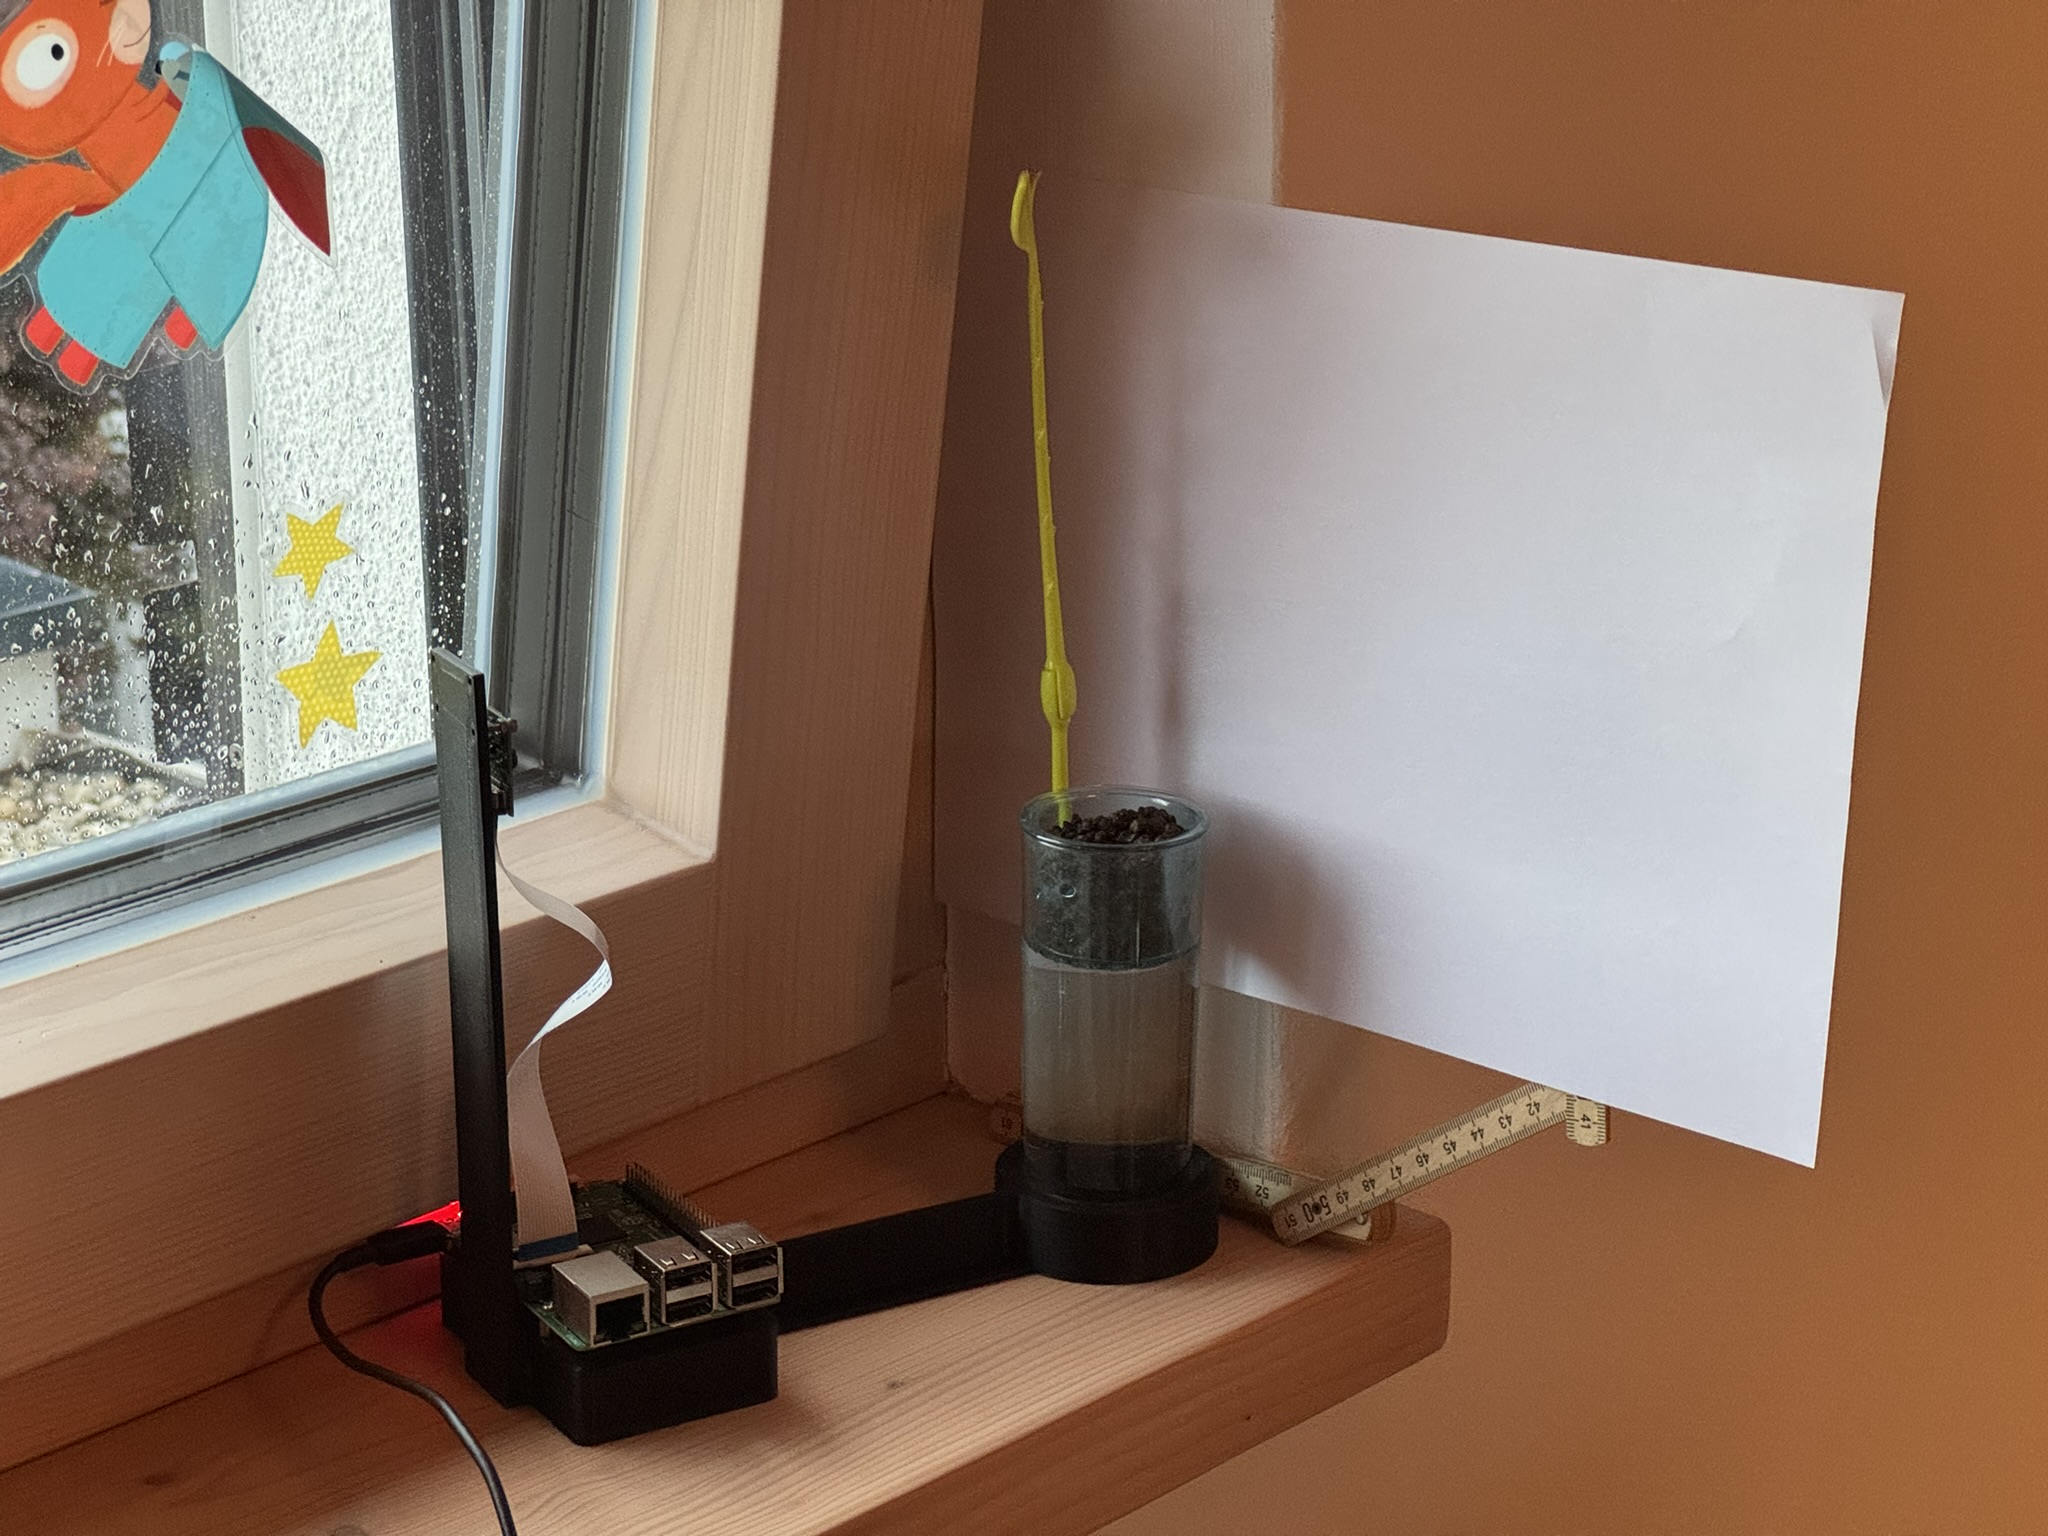
The Hardware: A High-Tech Greenhouse
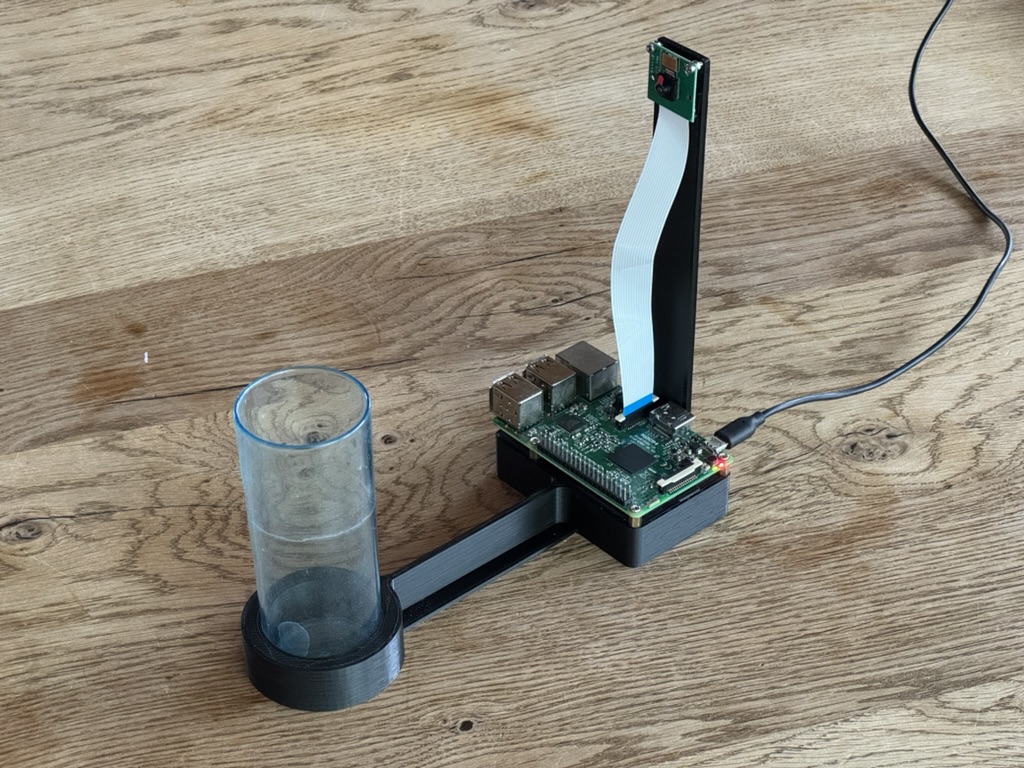
To get the perfect shot of our leafy protagonist, I’ve assembled a specialized rig:
- Raspberry Pi 3 : The digital brain behind the operation, handling the scheduling and image processing.
- Raspicam : Our steady “eye,” positioned to catch every root wiggle and leaf unfurl.
- 3D Printed Chassis: A custom-designed home for the electronics, ensuring everything stays perfectly aligned over weeks of shooting.
- Hydroculture Vial: A minimalist stage for a single bean, allowing us to see exactly what’s happening both above and below the surface.
Programming: Lego for Logic
One of the best parts of this project is that it’s a family affair. Instead of buried lines of code, we’re using Node-RED .
It’s essentially “Lego for logic”—using visual blocks to wire things together. This makes it easy for even the smallest family members to decide when the “eye” should blink (take a photo) or how the “sun” (an LED) should behave. It’s a great way to turn a science experiment into a first lesson in automation!
The First Result
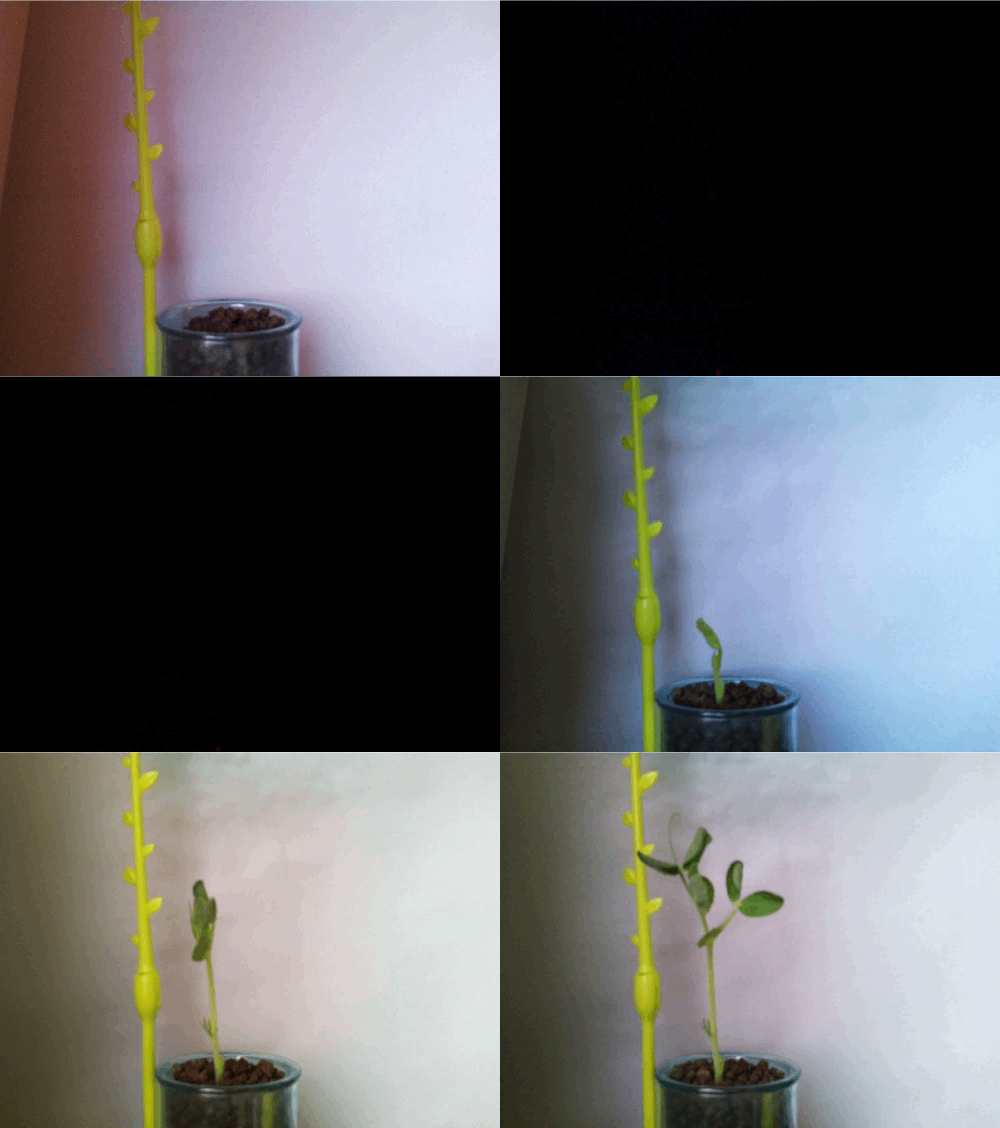
This is the first result of the setup. It uses the simplest approach possible, with no specific configuration. You can clearly see the day-night cycles as the ambient lighting varies strongly throughout the recording. Despite the simple setup, it’s a very promising first result!
Outlook: Professional Lighting and Optics
We are already planning the next steps to improve the image quality. We’ll move the experiment to a location where we can install a dedicated light source that switches on only when a picture is taken, ensuring consistent lighting. Additionally, we are considering replacing the Raspi Cam with a proper camera for even better resolution and detail.