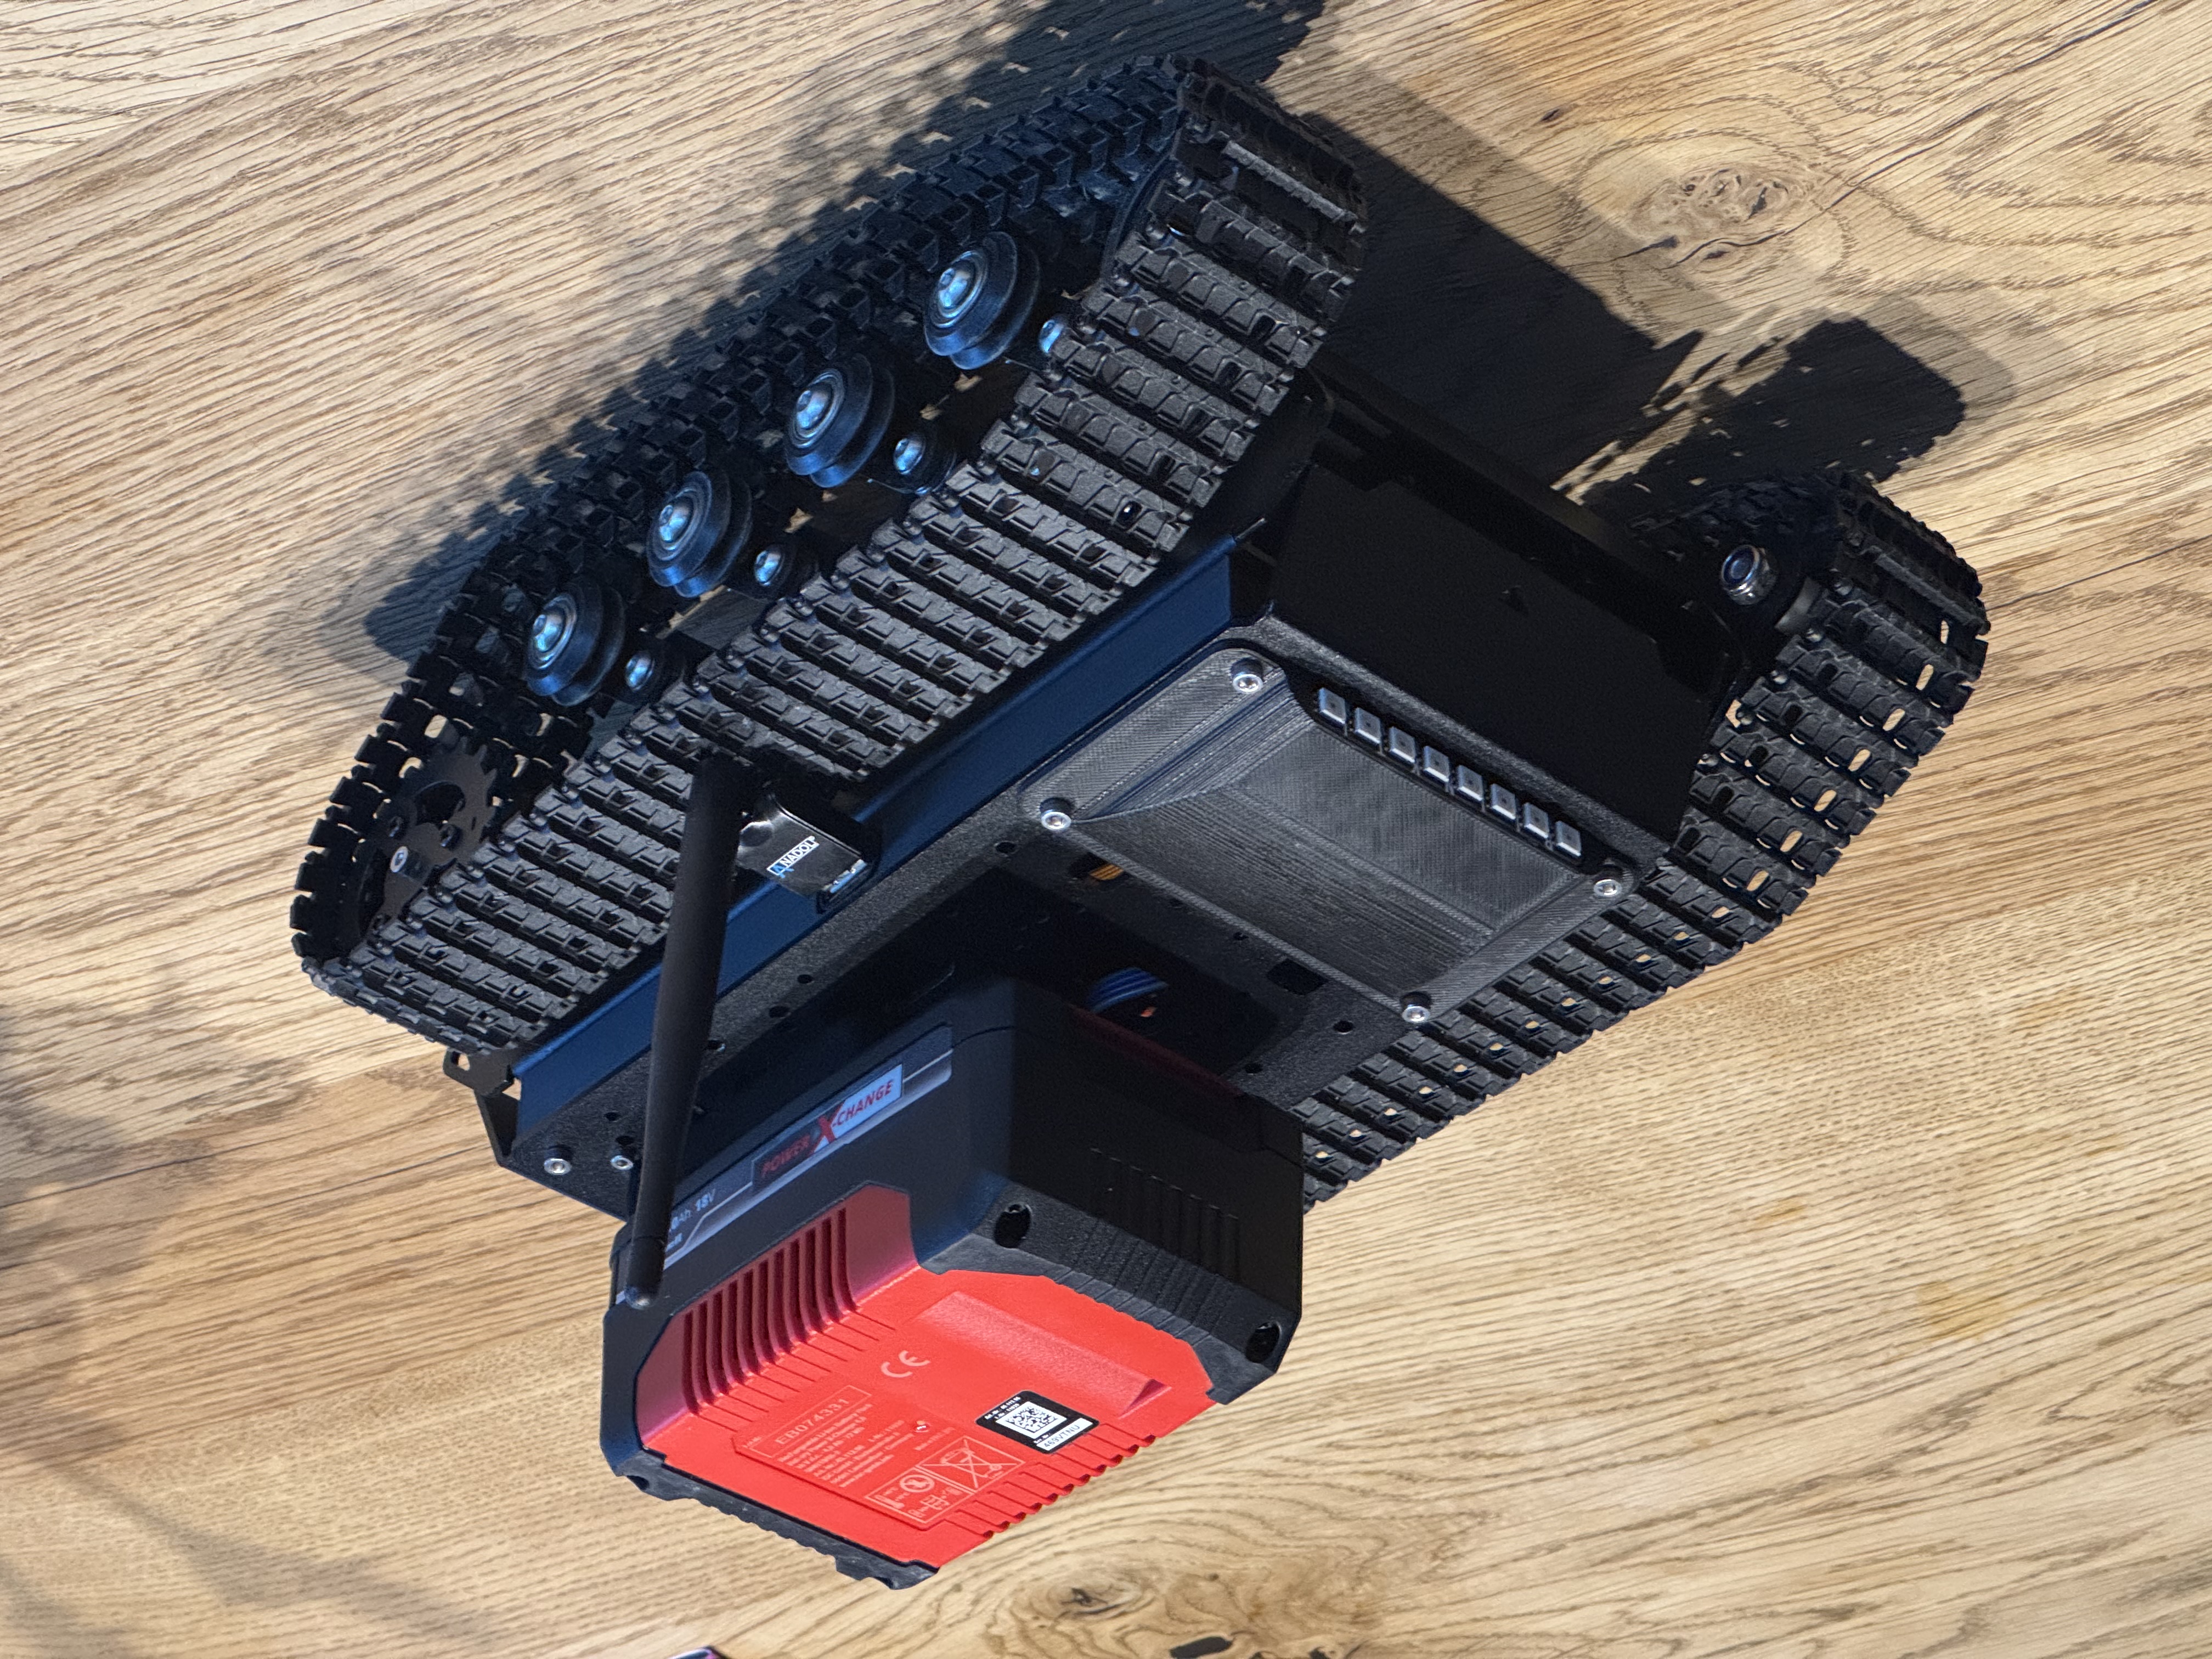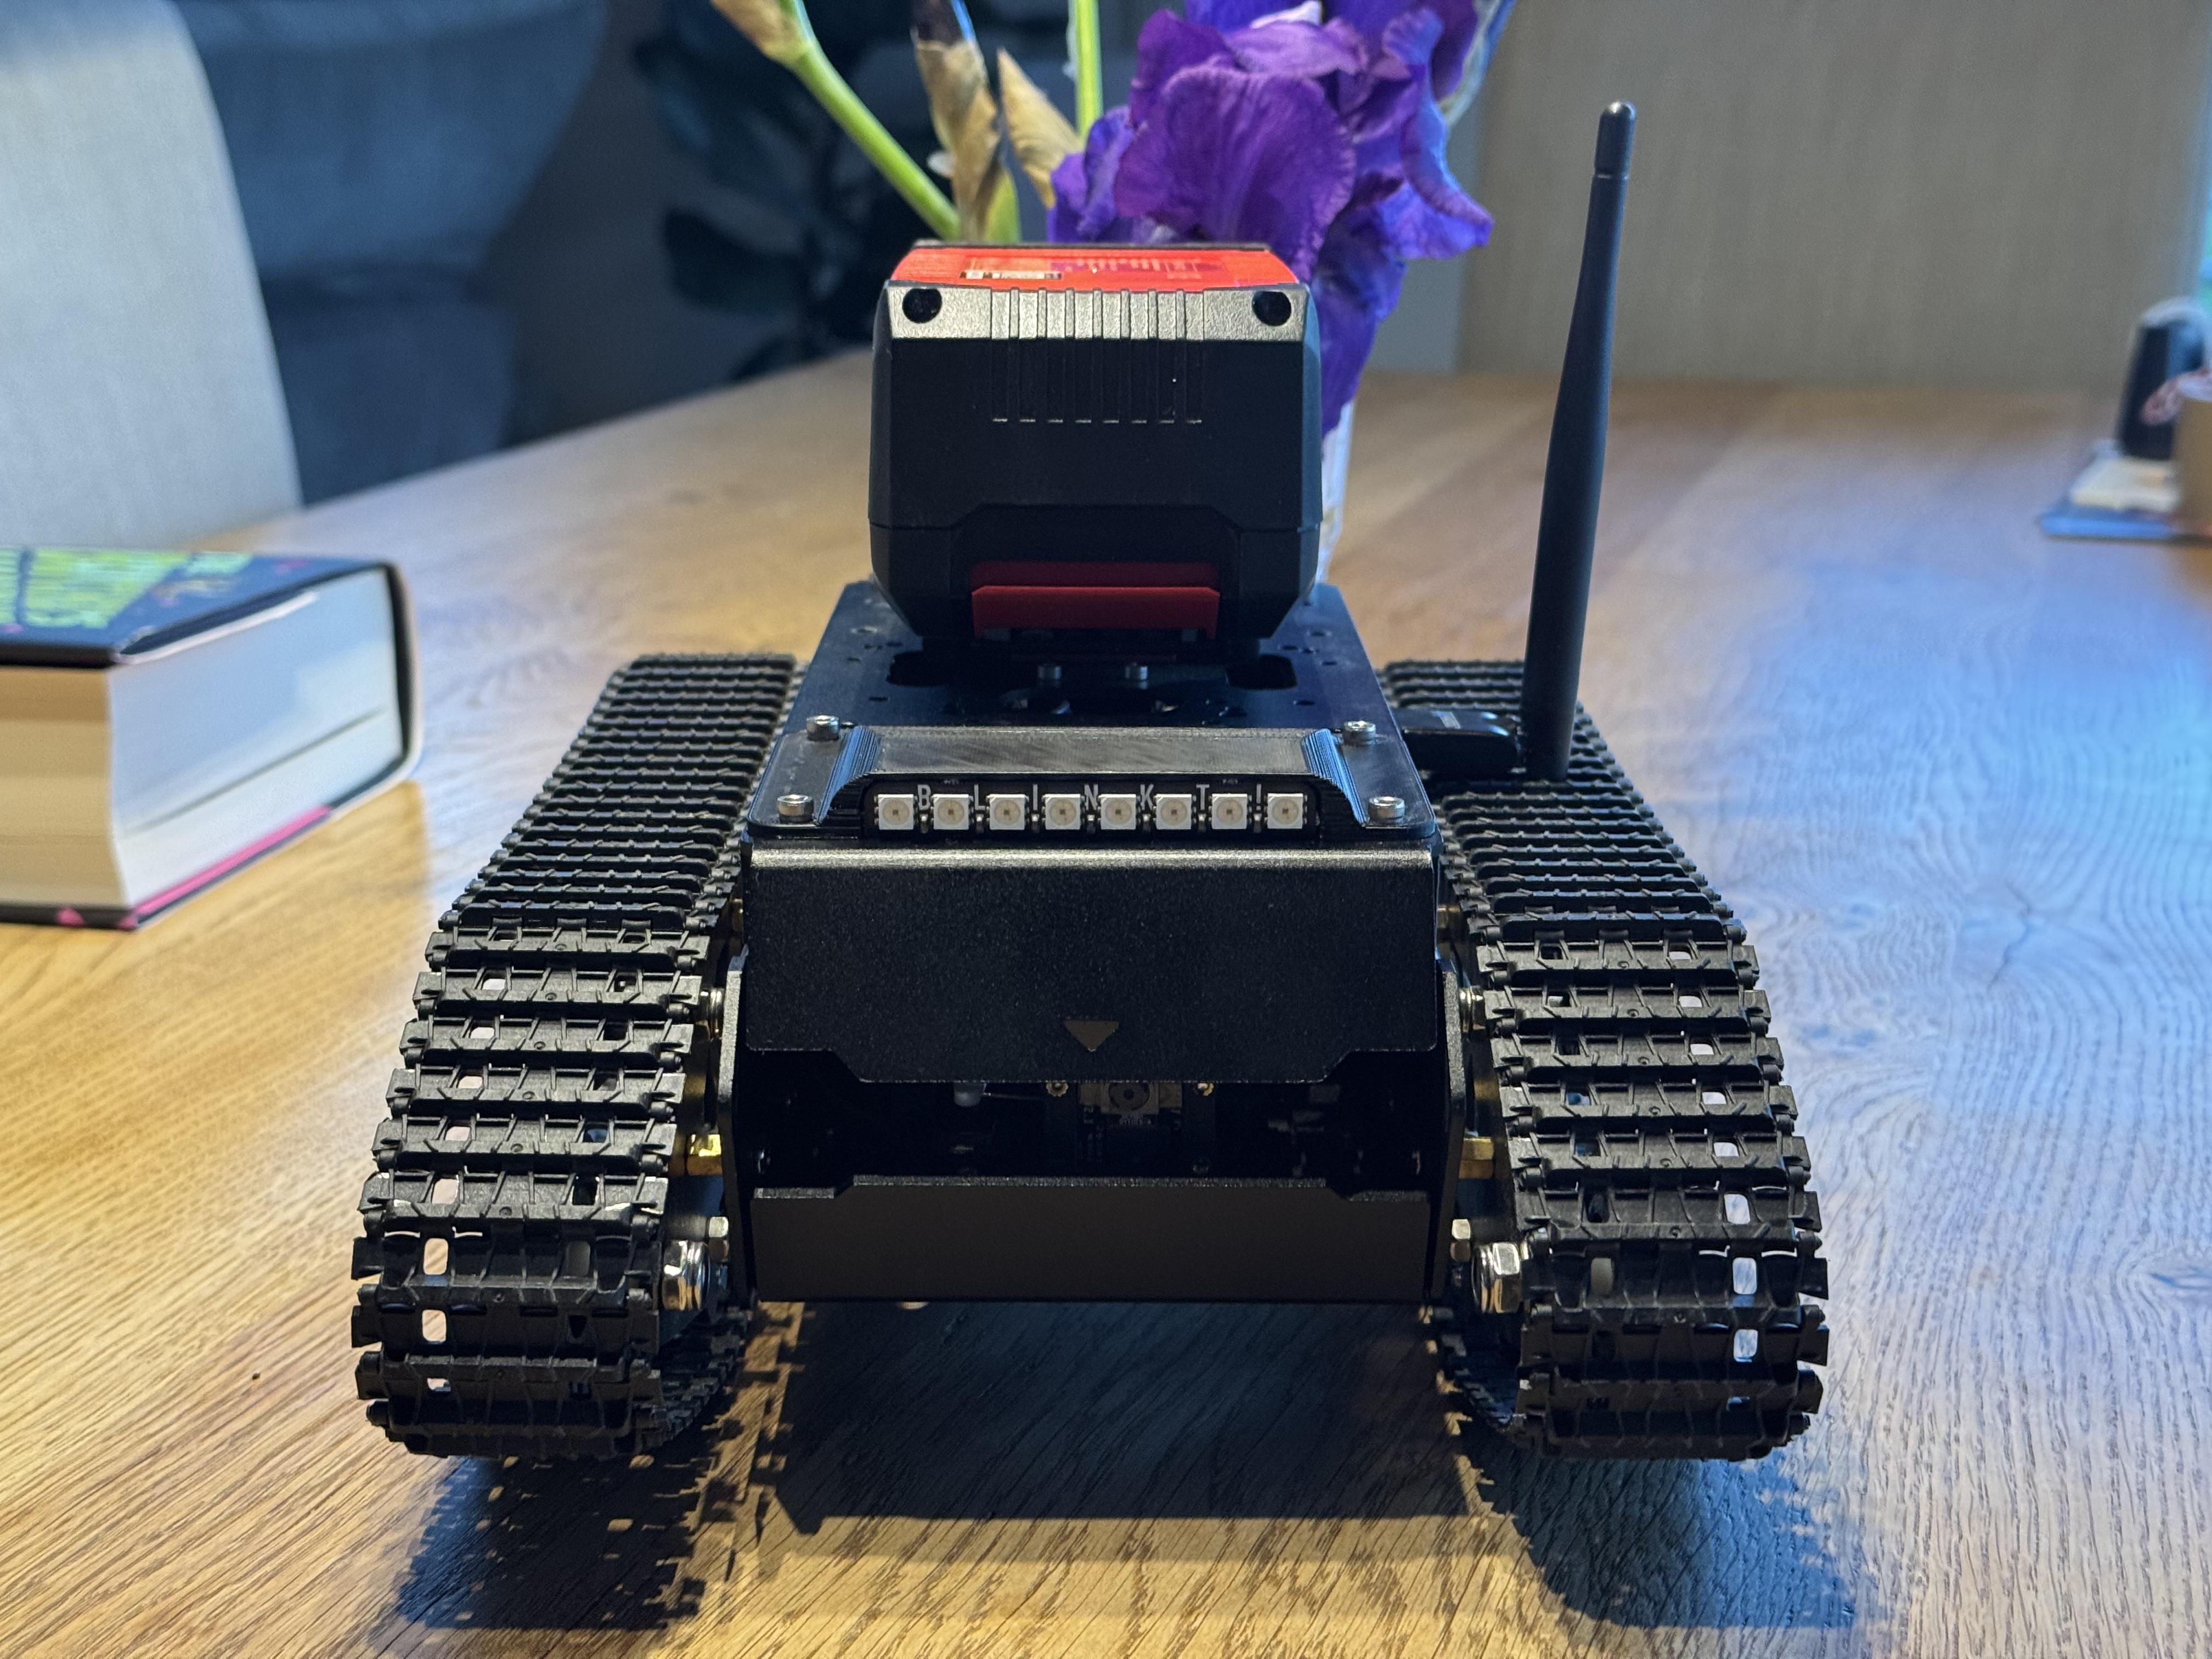
Hugo 3 is a long-running project and a versatile experimentation platform for me. By design, it will be extended and worked on for the foreseeable future as I test new ideas and technologies. While the core systems described in the original Hugo3 project post are solid, there is always room for hardware refinements and new modules.
The light bar mount
The dangling lightbar in the front of Hugo3 was nice but it looked a little too makeshift. You know, the integrated battery pack, the hidden cameras front and rear at least try to create a sophisticated look to the thing but the dangling eyes somehow made it look too prototype-y. So I wanted to have it neatly tucked away such that I can still slide the battery over it and to be able to to turn it on its back without breaking the light.
So I created a little housing for the bar:
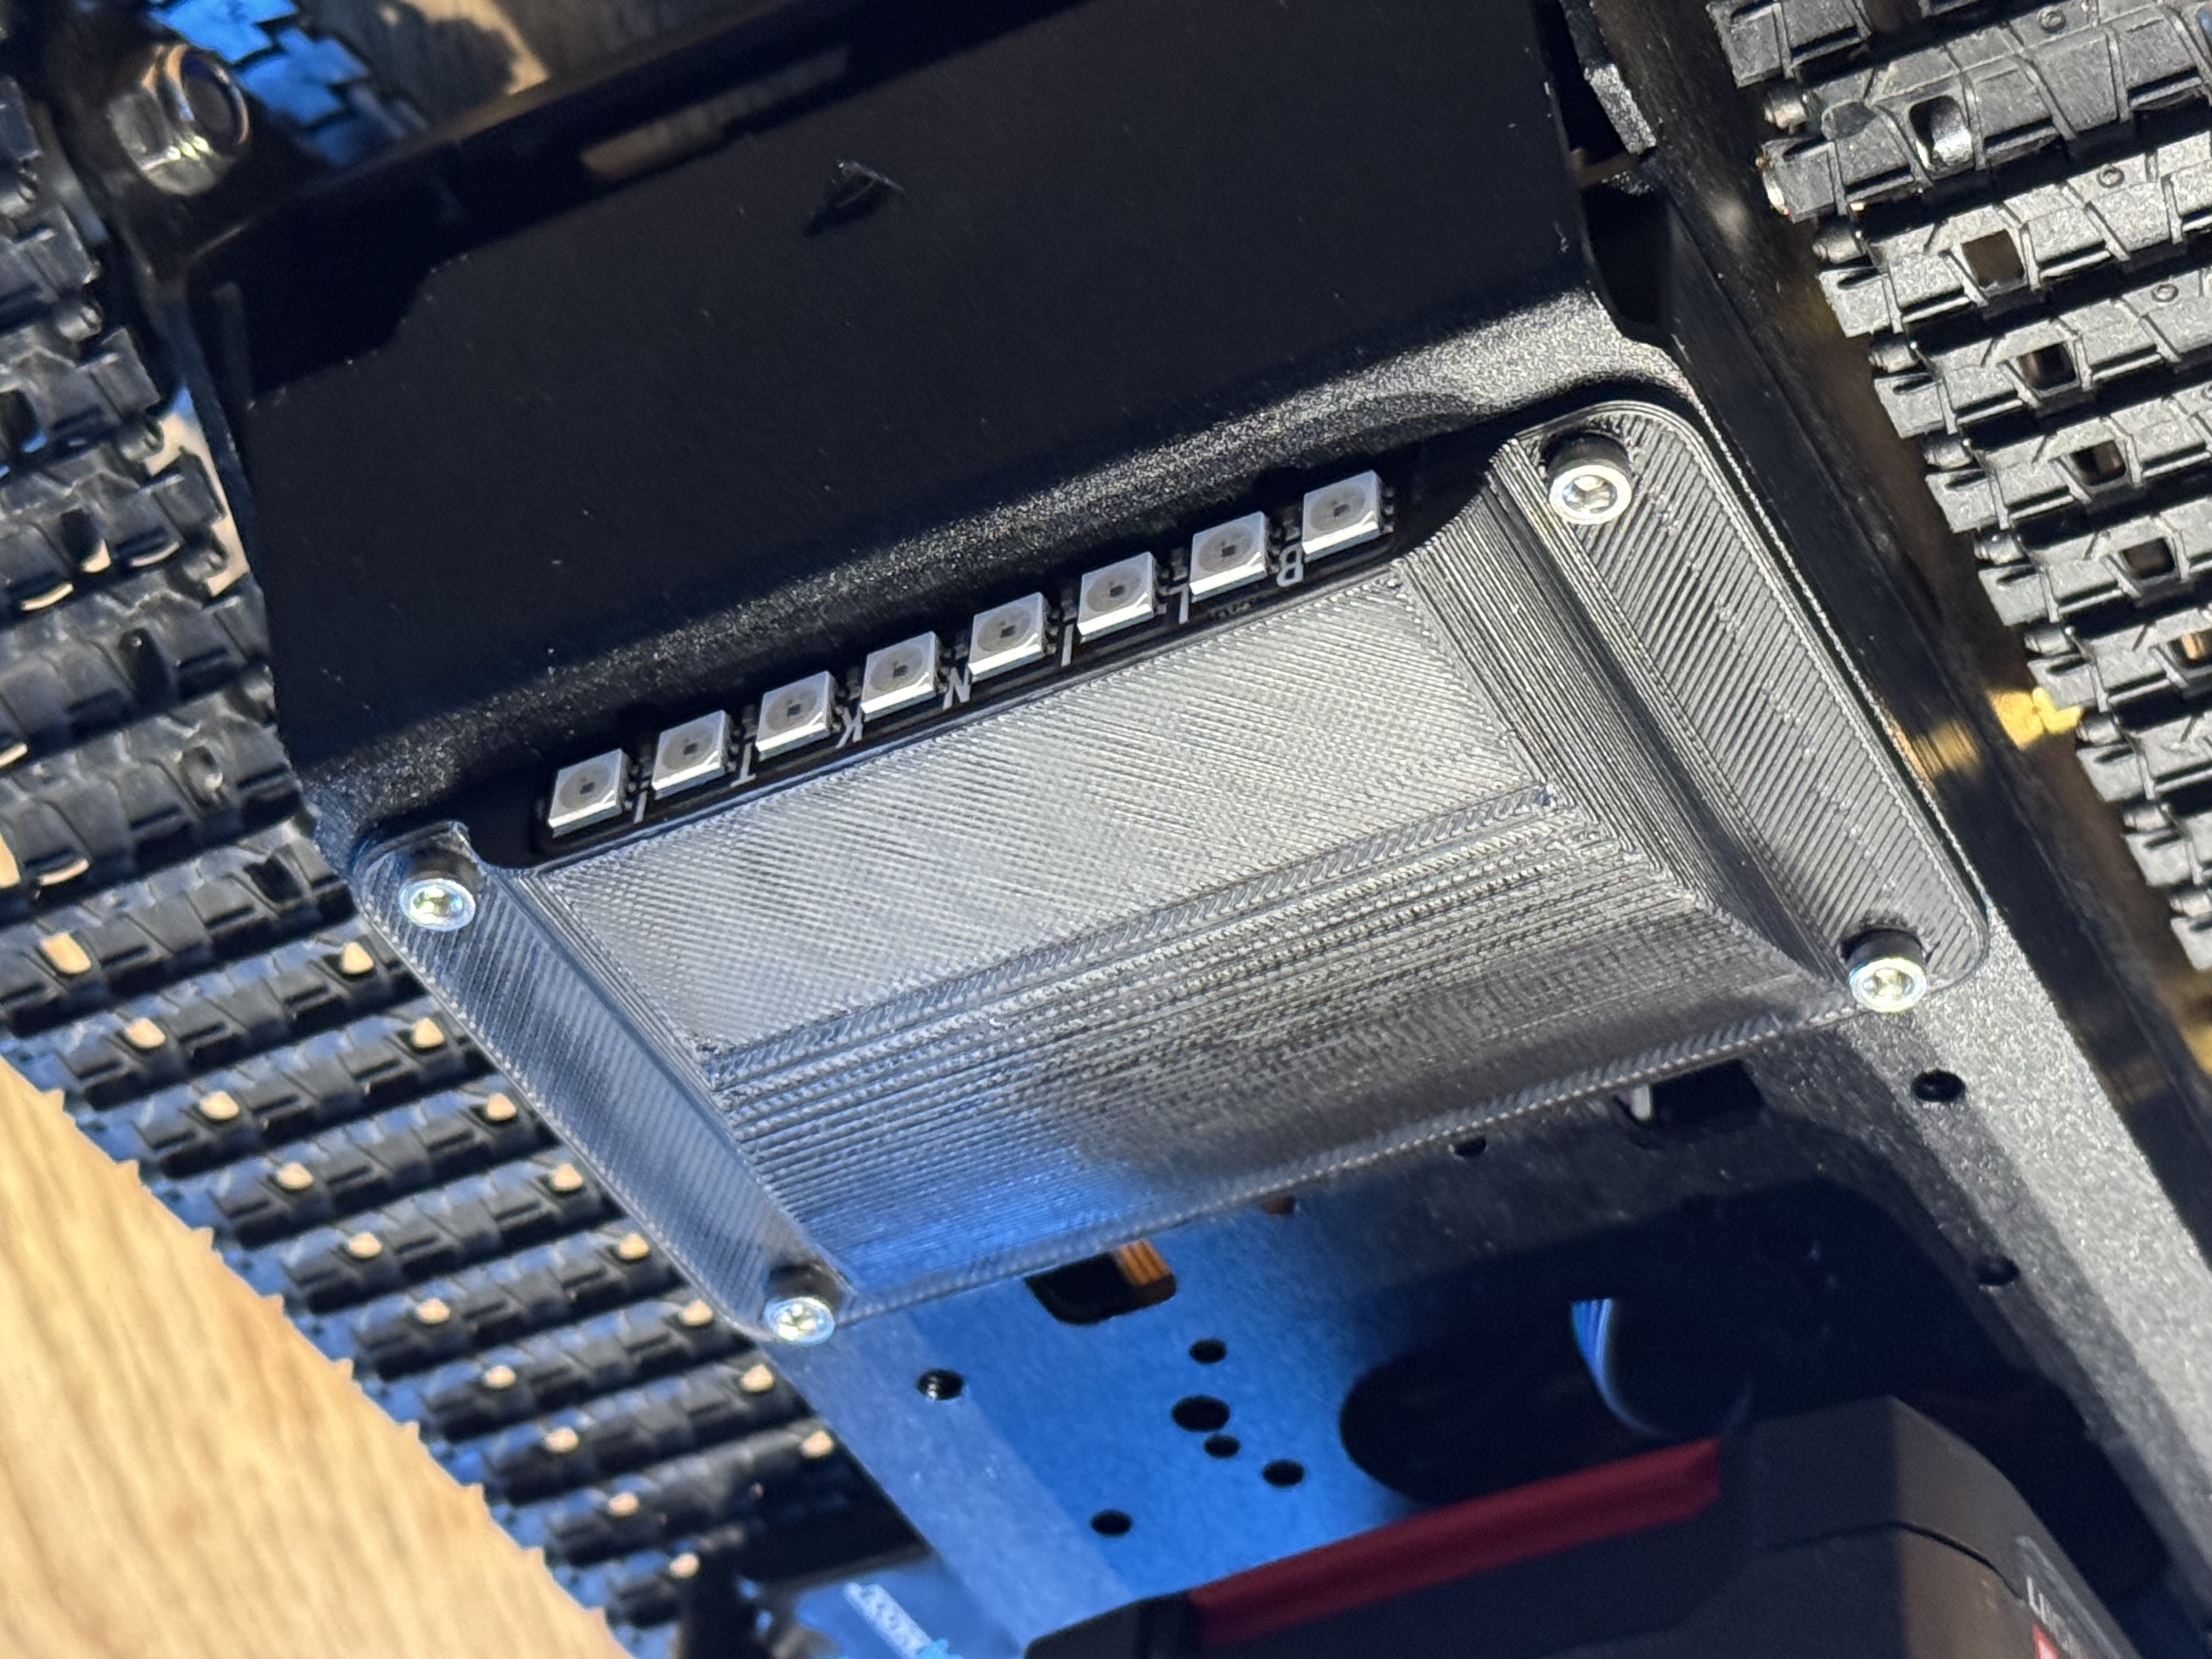
This neatly covers the holes for the cables and creates a snug mount for the bar itself so that it friction fits to the fixture. The fixture itself is then screwed in place through the side walls into the chassis which creates a sturdy connection.
The Wi-Fi dongle situation
When you look at the original Hugo3 project post
you can see that the USB Wi-Fi dongle was dangling through the top cover. The dangling dongle hindered smooth battery pack insertion which led to problems using Hugo. So this situation needed resolving as well and the solution was simple: The dangling dongle needed a new placement. And I found it in the side wall.
I updated the side wall construction with a hole for the USB extension cable, friction fitting the plug in place. Then I was able to just plug the dongle into the side wall and have it not dangling any more.
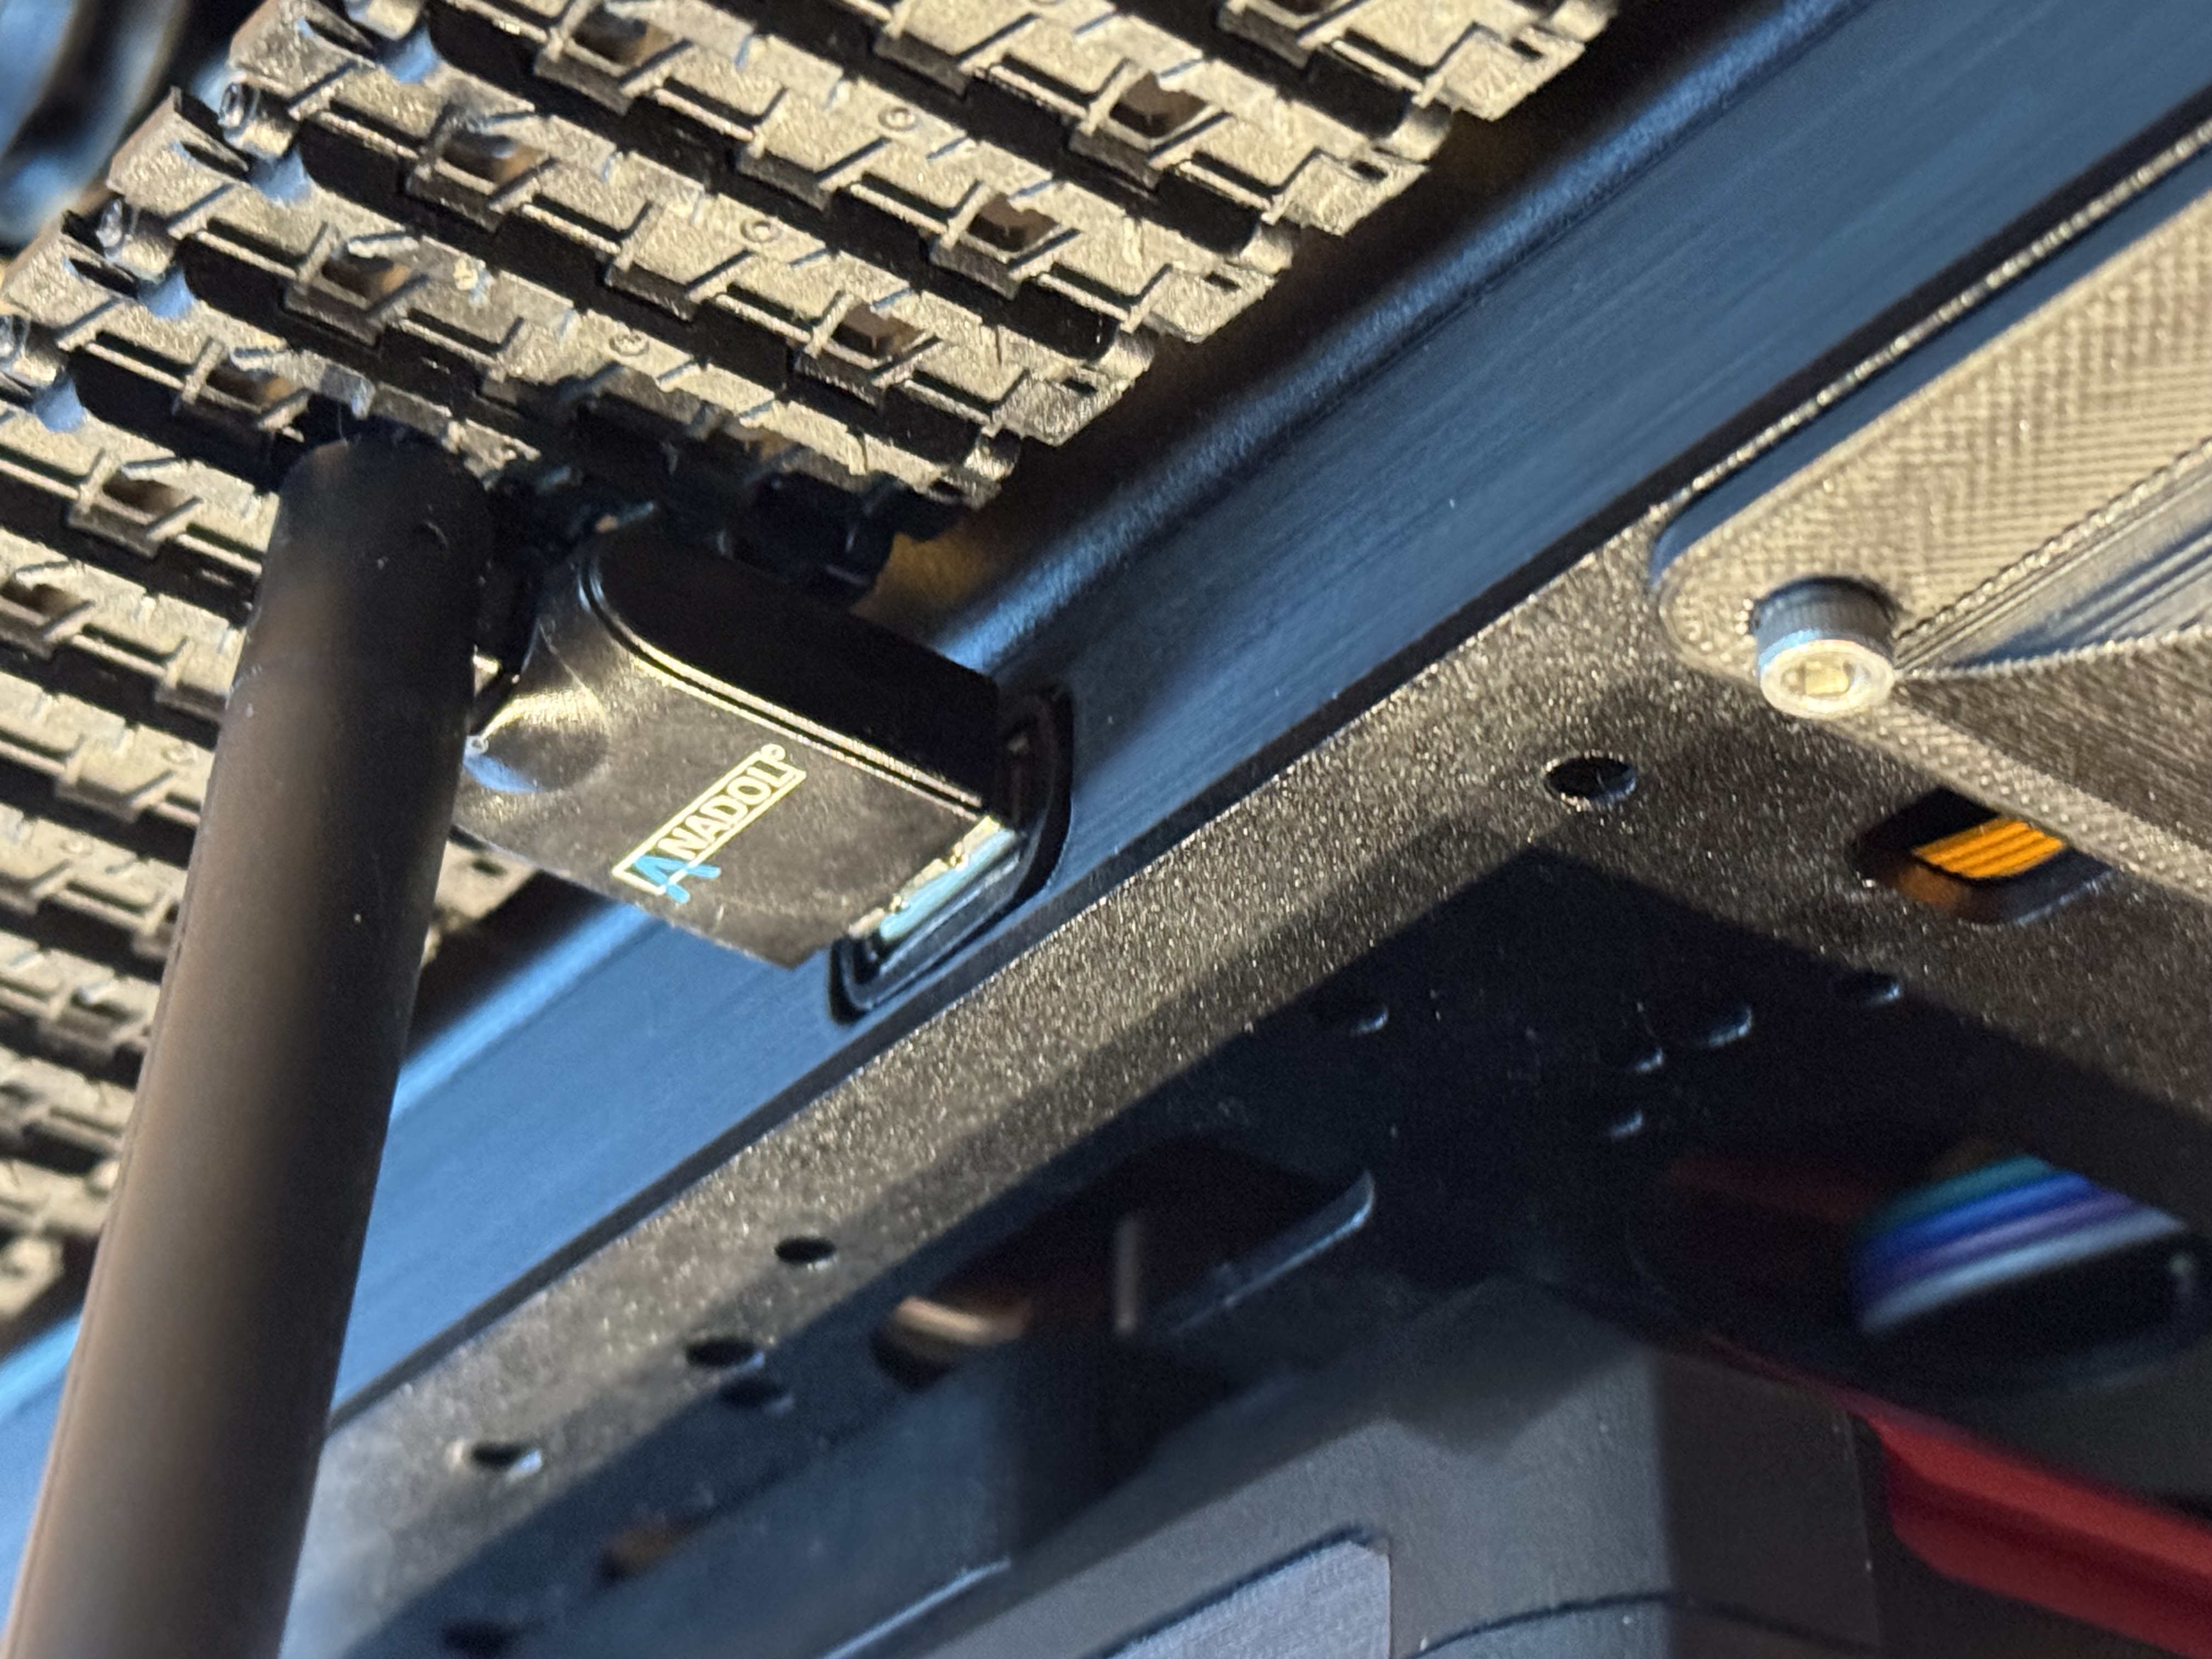
And with these extensions, we are back to the slick look. Light bar is now in place, the dongle does not dangle any more and Hugo is up for the next adventures.